It has been awhile since my last post My {Daughter's} Birthday Party, but that's because I've been working on my oldest daughter's (Layla) party. This past Christmas my parents signed Layla up for a 4 week cake decorating course through our local rec center. I love to decorate cakes but I knew it would be more fun for Layla to take a class with some peers and learn some techniques from someone other than myself. I was amazed at how much she enjoyed it and wanted to share her new talent with her friends which is why we came up with a cake decorating theme for her upcoming birthday party.
One of the reasons I love putting together my daughters' parties is because it gives me a reason to try new crafts and projects. I started by picking out a spring-y color scheme of bright bold colors including turquoise, lime green, orange, and pink. I make almost everything for our parties from decorations to food. However, believe it or not, the part of any party that I struggle with the most is invitations. My graphic design skills (or lack there of) leave a lot to be desired. Luckily, I eventually figured out a way to incorporate sprinkles into the invitations and was pleased with how they turned out. (Actually getting invitations to guests in a timely manner is another story completely...)

Here is the link for the Chicago Metallic Multi Tier Cake Pan. I did half chocolate and half white.

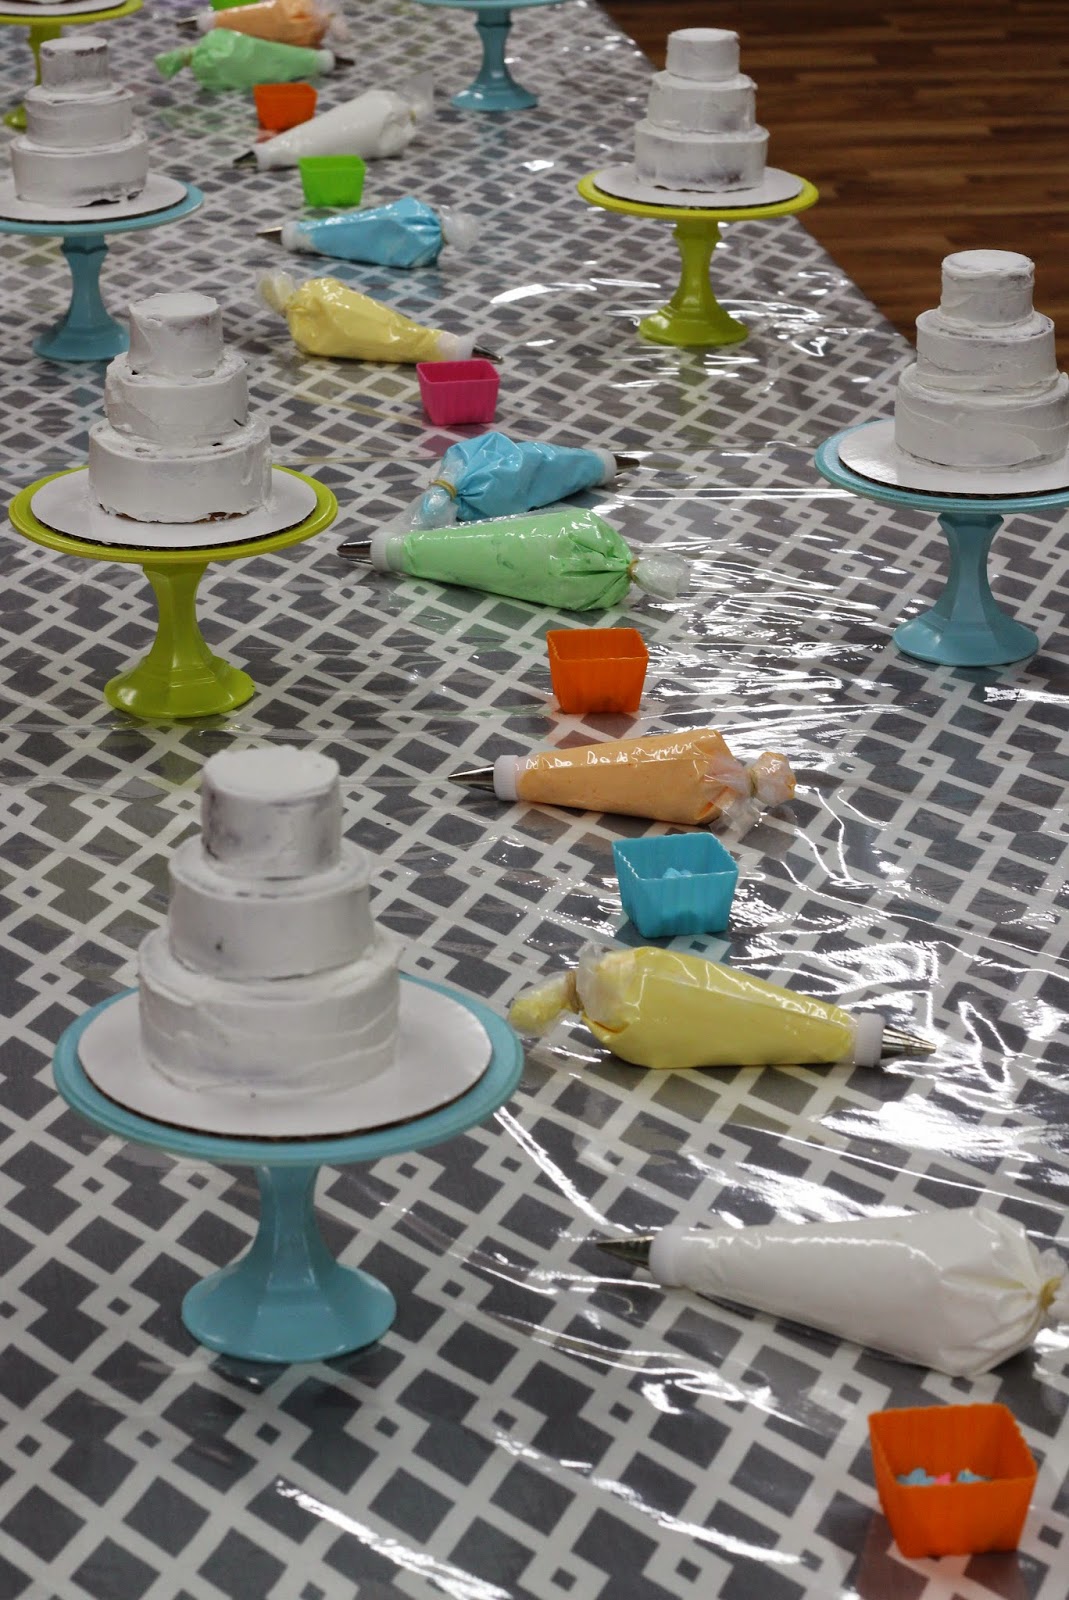
The cake stands were incredibly quick and easy. I made them each for under $3 using 7" round wooden discs ($.99) glued on top of glass candle holders ($1.50) using E6000 glue. I easily spent more time removing the tags/stickers from the discs/candle holders than actually assembling them. I spray painted half turquoise and half lime green. (Chocolate cakes would go on turquoise and white on green so the kids could easily identify the flavors once they were covered in icing.)

The most time consuming projects was making aprons for each girl to take home. I had never made an apron before last week, but I managed to get 15 made in 6 days. I didn't use a pattern and each one was different, but that's how I work best. I really don't like reproducing the same thing over and over. Therefore, some aprons were long (at my daughter's request), some were short, some had ruffles, some had pompom trim, some tied behind the neck, and some were adjustable. I loved them all and the girls looked adorable in them!

Can I just pause for a minute to say "How adorable is this fabric?!"

Despite the fact that each child was going to be bringing home their own mini cake, we had to have some sweet treat for the girls to eat at the party. I made these piping bag sugar cookies using a cookie cutter in the shape of a Christmas light.

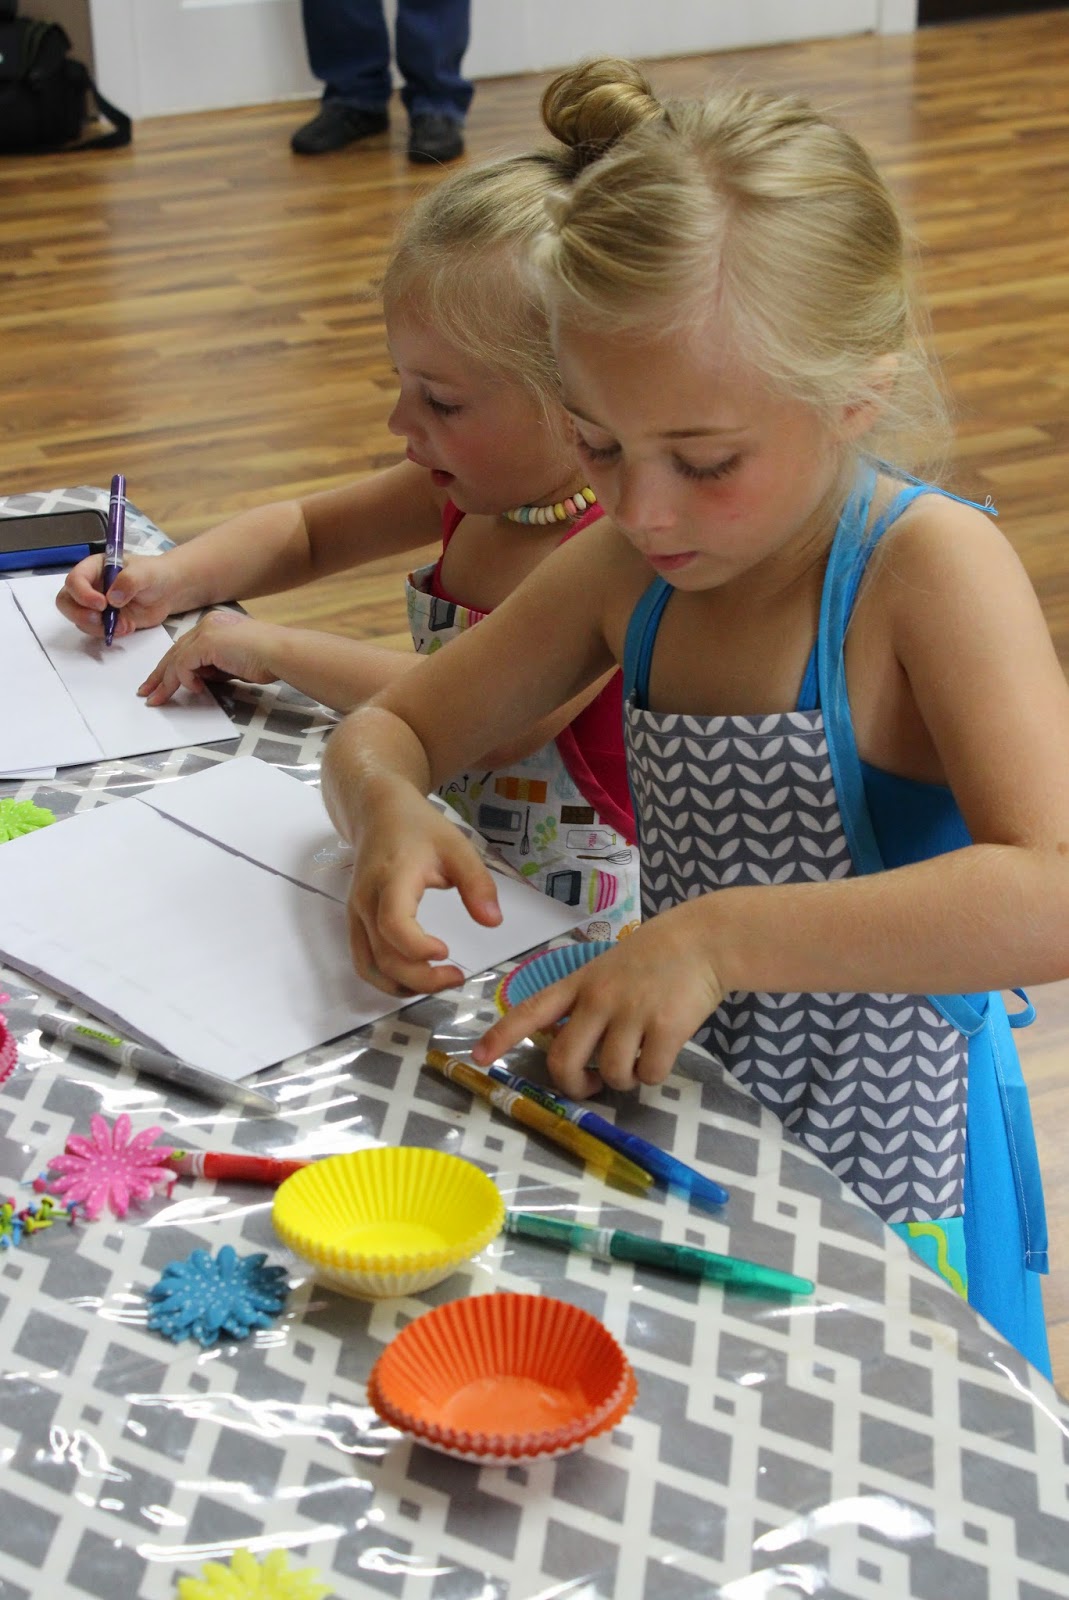
As the girls arrived at the party they each picked out an apron to wear then decorated a chefs hat using glitter markers and flowers they made from layering cupcake liners and craft flowers. Once the girls made their flowers I used a craft brad to poke through the center of the flower and punch through the hat. It was so easy (and mess free - we didn't even need glue!)

PARTY TIME!