School Lunches

Saturday, January 31, 2015

Gold, Glitter, and Feathers... Oh my!


Do you ever have the urge to hand paint feathers then sprinkle them with glitter? Oh, you don't? Umm... ya... me neither. 

Except I do... and I did... and no, that doesn't mean I have so much time on my hands that I couldn't possibly find anything to do other than hand paint feathers. I'm busy, you're busy, we're all busy. Certain things suffer... *cough* like the dishes *cough* or the laundry *cough* or the other housework *cough*... but I found sitting down hand painting feathers while all the kids in the house napped to be remarkably therapeutic.  

Here are just a few pictures of my hand painted feathers turned into a cupid's arrow. 


Tools and supplies - paint, glitter, and heavy card stock in the color of your choice (I went with gold), a thick wooden skewer (or twig, or something else that resembles a stick), feathers, and some type of yarn to wrap around the base of the feathers. 


I know some of these look like they were 'dipped', but they aren't. I had painted each one in a relatively short amount of time. I suppose you could try spray paint but you would need to somehow weigh the feather down and I think it would be more difficult than just doing it by hand.


I then hot glued them to one end of the skewer and made an 'arrow' out of the card stock for the other end. I created a 'pocket' by not gluing both sides of the arrow together to allow me to stick the end of the skewer inside.


Now I just need to figure out what I'm going to do with it. But for now, it sure looks pretty just sitting there.


Sunday, January 25, 2015

Potato Leek Soup


After a long week of too much sugar, lots of baking, and late nights finishing projects, I had no intention of accomplishing anything on this snowy Sunday. All I wanted was a big bowl of something savory and hot. French onion soup is one of my favorite soups but I didn't have enough onions and I wasn't about to take three kiddos out in the snow just for onions.

I settled on trying a new recipe and began searching for a potato-leek soup. I'm particular about texture and I didn't want a pureed soup, so I thought this Food Network Potato-Leek Soup Recipe  recipe was perfect because only have was pureed and the other half was left chunky.

First, as always, let's take a moment to appreciate the beauty of the ingredients. Let me introduce the leek. If you've never used leeks just think of them as a giant green onion.


Also, if you haven't used leeks before you should know that these little suckers are dirty. Typically you want to cut off the bottom (roots) and clean up the top, still leaving plenty of the green part. Then slice them in half and rinse, rinse, rinse. Take care in peeling the layers and really getting all the hidden dirt out, because there is a lot.. seriously... a lot.


I also wanted to slice one leek into rings to fry up for a crispy topping. I sliced them then broke apart the rings and rinsed them thoroughly.


I dredged the rings in flour seasoned with paprika, salt, and pepper. Then, set them aside until I was ready to fry them. 


To begin the soup, start by cooking 4-5 slices of bacon until they start to crisp up. Using a slotted spoon remove the bacon the drain the fat (leaving about a tablespoon in the pan). 


Add a tablespoon of butter to the pan and add the leeks and garlic.


Cook the leeks down for about 5 minutes until they are soft and tender. 


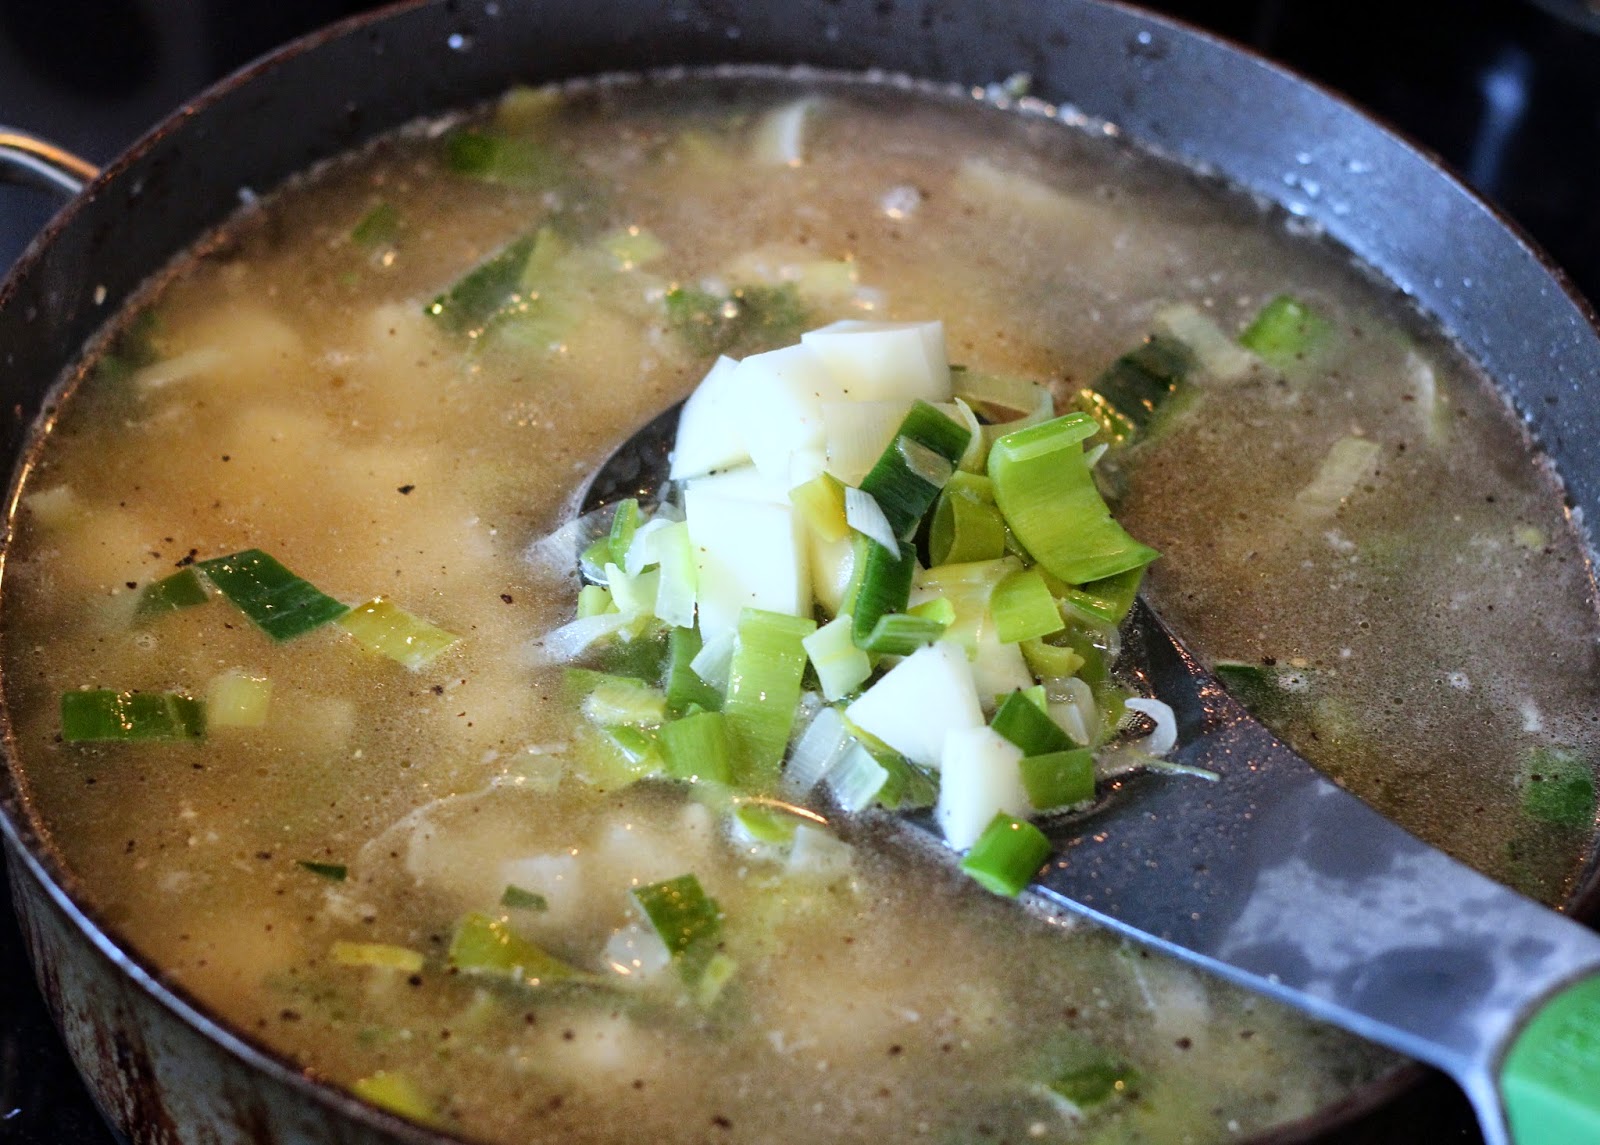
Add chicken broth (I used stock), water, potatoes, salt, and pepper and simmer until potatoes are tender. 


Remove about half of the soup and either puree it in a blender, or use an immersion blender. I removed half, pureed what was in the pan, then added the 'chunky' soup back in. 


Add 1/2 cup heavy cream.


Garnish soup with croutons, crispy leeks, bacon, and parsley.


Sit back, relax, and enjoy.


Sunday, January 18, 2015

Vanilla Beans and Blood Oranges

To continue my theme of using citrus to pretend that it's not still winter, I decided to feature blood oranges today. Can we all just take a moment to notice just how beautiful a blood orange is? With something that beautiful, you know good things are coming...


I shouldn't complain too much about it being winter. I've lived in Iowa all my life so I'm all too familiar with what the season brings. However, today was in the 40s! That may not be exciting to you, but to those of us who just experienced negative 20 and 30 degree weather, 40 degrees feels like spring! 


Today the sun was shining, the snow was melting, and I was day dreaming of warm days ahead. Days that I will be outside grilling and sipping a margarita. So, that is what I'm making today. The absolute best margarita. There is nothing quick about it. But, perfection takes time. 


First I juiced a few blood oranges. Then I stopped to appreciate that beautiful color. Then, I squeezed a few limes. Instead of throwing them away I filled a mason jar with a few of the juiced halves.


I made a simple syrup (equal parts water to sugar, I used 1 cup of each). Bring to a boil. After it reaches a boil, remove from the heat and add vanilla bean paste (I don't measure, I just pour a little it - I would say 2tsp is a good place to start). Allow the syrup to cool for a couple minutes before pouring into the jar filled with fruit to create a vanilla bean citrus infused simple syrup. 


I reserved a bit of the vanilla bean syrup for a separate use. I know I promised you a margarita, but while my citrus infused simple syrup cools, let me take a minute to show you what my real favorite drink is... 

I always keep a bottle of vanilla syrup on my counter. While it would be perfect for coffee, I am not a coffee drinker. However, I AM a Coke drinker. I am known for ordering lunch regularly just so I can have a fountain Coke deliver. However, what is better than a fountain Coke? A glass bottled Coke.  


And what is better than a glass bottled coke?


A vanilla coke. Not the vanilla coke from those fancy flavor fountain pop machines. (And yes, I'm in Iowa and it is 'pop' here. You will not find me saying 'soda', 'soda-pop', or anything other than 'pop'.)

I'm talking about vanilla coke made from a vanilla bean syrup and glass bottled coke poured over ice in perfect harmony.


How refreshing does that look?

Okay, back to the margarita...


Blood Orange Margarita

2 ounces tequila
1 ounce orange liqueur 
1 ounce simple syrup (I used vanilla bean citrus infused simple syrup)  
1 ounce freshly squeezed blood orange juice
1 ounce freshly squeezed lime juice


It's like summer in  glass. 


Kumquats - Little Nuggets of Sunshine

Lately, I've found myself picking up new items at the grocery store that I've never worked with before. A few days ago I picked up these adorable kumquats. Per usual, when I have no idea what to do with something I start searching Pinterest which led me to this amazing kumquat poppy seed vinaigrette. I highly recommend it. The only substitution I made was using red wine vinegar (as that is all I had on hand).   


Don't they look like little nuggets of sunshine? You would hardly know it's January in Iowa with the amazing citrus I've been getting my hands on. 


Easy, beautiful, and tasty!


Salad of mixed greens, sliced red onions, black berries, and sliced kumquats.


Sliced kumquats, black berry, and goat cheese on a 34 Degree poppy seed crisp (I LOVE 34 Degree crisps. I find most crackers to be too overpowering for most toppings, but these thin crisps provide the perfect base without an overpowering taste.)


Chicken milanese topped with a salad of mixed greens, radishes, red onions, cherry tomatoes, and, of course, kumquat poppy seed vinaigrette. 


I wish I had something more profound to say, but sometimes short and sweet is best. So I'll just say this - don't be afraid of trying something new. Even if it is something as tiny as a kumquat. 

Wednesday, January 14, 2015

Jam and Biscuits


This morning as I was looking for something to make for the kids for breakfast, my middle daughter, Addison, chimed in "mommy, my tummy says it wants Cinnamon Toast Crunch". Well, that was easy enough. A bowl of cereal with almost no cleanup. However, while she was enjoying her Cinnamon Toast Crunch, my oldest daughter, Layla, and I decided to have fruit, berries, and cinnamon toast. It must have looked good because when Addison finished her cereal she paused and said, "I will have more later. But for now, I will have whatever you want to make me." I saw her eyeing Layla's plate and asked if she wanted the same thing. "Yes, but I want it on a stick." Yes, I spend so much time plating meals for the kids that now they make strange requests like "I want it on a stick" or "will you put the berries in a circle pattern on my yogurt". I suppose it's my own fault for letting them think that's normal, but if she wanted me to put berries on a stick, that's what she would get. 


After I made this I figured it would make the perfect 'XO' breakfast for Valentine's Day. So there is a little inspiration for you a month early. 


While I was cleaning up I realized how many strawberries I had to use up and thought I would look for a recipe I could have the kids help me with. I have never made jam before, but I a simple 3 ingredient recipe that I could easily adapt to my taste.


Strawberry-Orange Vanilla Bean Jam

Ingredients 
  • 2 cups sliced strawberries 
  • Juice from 1 orange
  • 1 cup turbinado (raw) sugar (granulated can be substituted)
  • 2 teaspoons vanilla bean paste (optional) 
Directions 
  • Cook strawberries and orange juice on low heat for 10-15 minutes.
  • Add sugar and increase temperature to medium. Bring to boil and cook until temperature reaches 210 degrees (fahrenheit)
  • Remove from heat and let cool and stir in vanilla bean past.
  • Cool at room temperature for a few minutes before transferring to heat safe jar. 
  • Refrigerate until jam is cooled and set. 
(Source states that Jam will keep in the refrigerator for up to 2 months.)


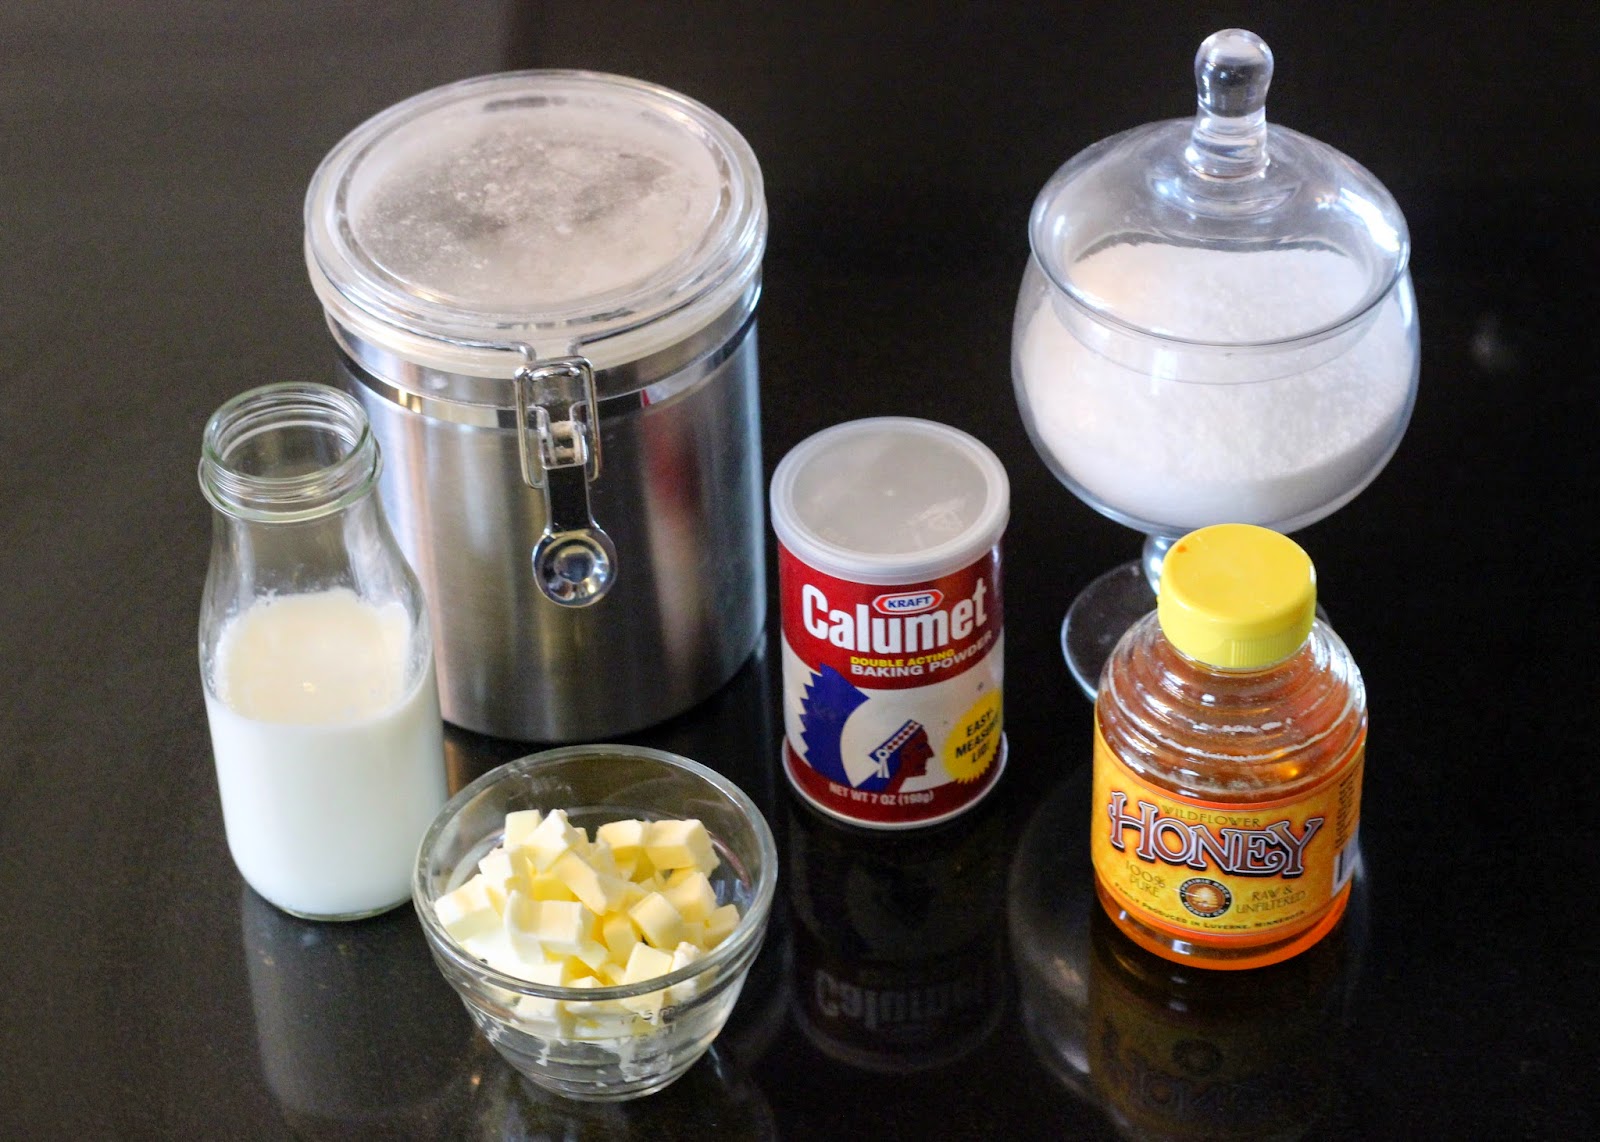
What better to pair with jam than homemade biscuits? I did not adapt anything on this recipe and I highly recommend it. 

Foolproof Flaky Buttermilk Biscuits from Tracey's Culinary Adventures blog. 


The kids loved getting to help pour/mix both the jam and biscuits. It's incredible how many lessons kids can learn in the kitchen - math, science, teamwork, measuring, motor skills, not to mention patience and listening! Plus, the overwhelming sense of accomplishment when they get to actually eat something they made with their own tiny hands. It's a wonderful feeling.


Tuesday, January 13, 2015

Creating something that lasts

Over the years I have learned I will take on about any creative project. However, projects that require a lot of steps, waiting, patience... are not my strength. I get bored halfway through painting a room. In fact, I have a beautiful armoire that I have been in the process of refinishing for months. (Actually, it sat for about a month, I spent a day on it, then I haven't gotten back to it.) I prefer lots of projects that I can complete quickly. I've had a hard time deciding where my strength is creatively because there are some areas that I am incredibly detail oriented (plating and food styling for example) but some things that I can't stand taking extra time to pay attention to details (like sewing). I completely agree quality is more important than quantity but I can usually 'fake' pretty good quality in a pretty short amount of time. There are some creative areas that I don't mind having mediocre skills, but I couldn't handle my photography being below-average.

A couple years ago I invested in my first DSLR camera. Unfortunately, I spent the first year too intimidated by all the manuals, tutorials, settings that I just left it on auto and snapped hundreds of pictures hoping to get a few good ones. I learned quickly that our house has incredibly poor lighting so I almost always used my flash which rarely resulted in the image I wanted. Slowly, I started learning a few tips and tricks that I've used over the last year and I've seen some improvement. However, when my husband purchased me a new lens this past Christmas knowing that I wanted something that would be ideal for the photographs I would be blogging, I decided it was time to invest a little more time into learning. After just a half hour of one-on-one instruction from my brother over Christmas finally gave me the confidence I needed to start attempting to use my camera in manual and try to create the type of food photography I've drooled over for years.

I always assumed people who took those amazing photos must have an entire home that was taken straight from a Pottery Barn catalog. But, at least for me, that is not the case. I want to show you just how simple my setup is that I've been working with the last couple weeks. That said, I have A LOT to learn, but I finally am taking the time to learn.

I use a TV tray. Yes, a TV tray. Not a beautiful shabby chic hardwood dining table. A TV tray pulled up against our living room window. I bought about a dozen 12x12 vinyl backdrop samples off Etsy, which are the perfect size for me. I also have a growing collection of random dishes. That was actually on my Christmas list - single, mismatching, interesting dishes. Luckily, I have a pretty amazing brother who actually went out shopping for a handful of unique pieces for me.

So here it is, my amazing setup.


No matter what food, art, or memories we create, basic photography skills are a way to capture those creations forever. It's a way to document your growth and I'm hoping by the end of the year I can look back at these photos with a critical, yet positive, eye and notice growth in my own journey developing these skills. 

Here are some of my favorite shots over the past couple weeks, taken on the tv tray, with the vinyl mat, next to the big window in the living room.